The following guide is designed to help you configure your Netgear M4250-series network switch for Dante and AES67 networks. This guide applies to systems with only one network switch.
Before You Begin
- Ensure that you have a Netgear M4250-series switch. This article only applies to Netgear M4250-series switches.
- Decide how IP Addresses will be managed. It is fine to use DHCP (e.g., from the switch, or from a Crestron server), Static/Manual addressing, or Self-Assigned addresses. This switch can act as a DHCP server for an isolated network. If you are using Static IP Addresses, create a spreadsheet to keep track of each device's address. We suggest tracking the device make, model, MAC Address(es), IP Address(es), firmware version, date purchased, and date installed. Include your switch in the list. See Documenting Your Audio Network for more information.
- Update your switch to the latest firmware available from Netgear. This article was written against firmware 13.0.2.21.
Configuring a Netgear M4250-series Switch for Shure Dante Devices
- Factory reset the switch. Log in to the Main UI, and select Maintenance. Click Factory Default, and then click Confirm in the pop-up box. The switch will reset. Note that this process may take a couple of minutes.

- Log into the switch again and set your password. The default IP address is 169.254.100.100 if there is no DHCP server. If a DHCP server is present, determine the switch IP address via the server, or connect to it via the OOB port. Consult the User's Guide for more information.
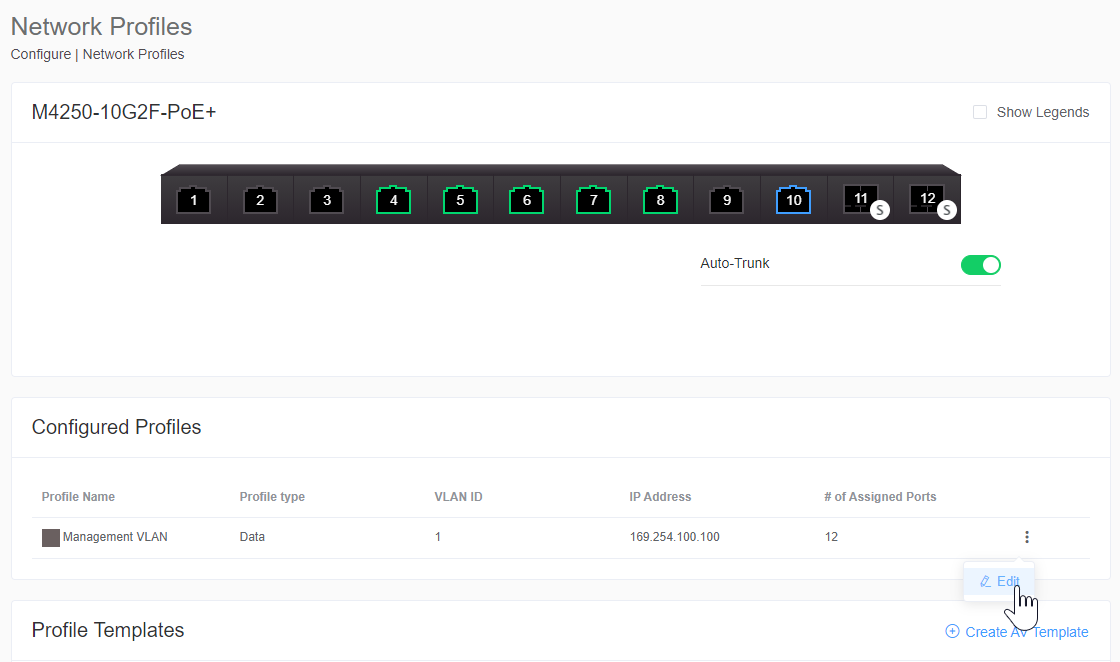
- Select Network Profiles in the menu to the left. Under Configured Profiles, select the drop-down menu as shown below and select Edit.

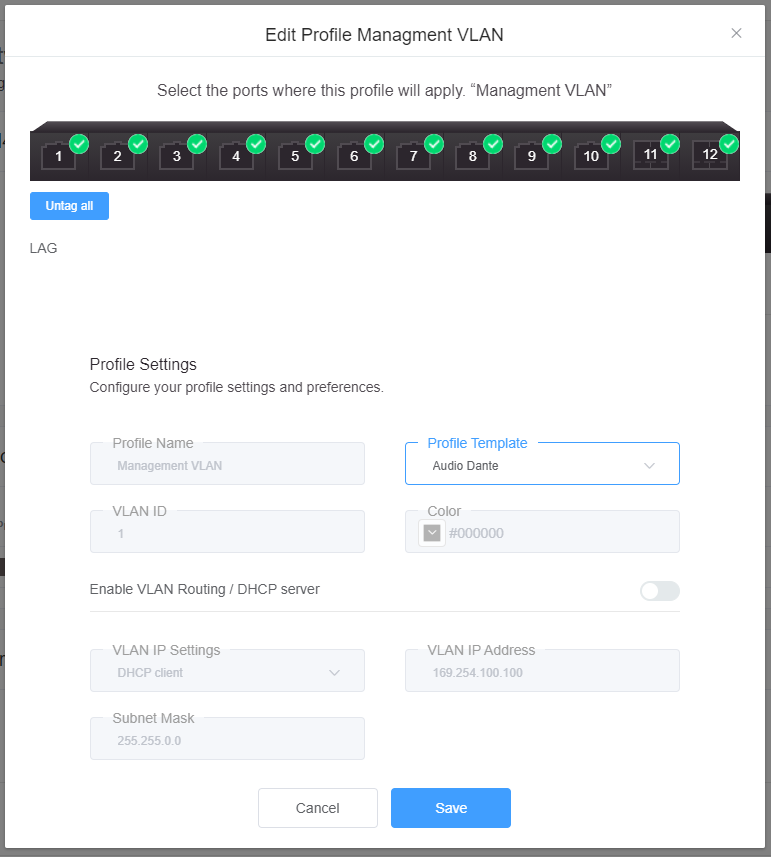
- Ensure all ports are selected. Under the Profile Template menu, select Audio Dante. If using Video-over-IP as well, such as Crestron NVX, select Video with Dante Audio instead. Click Save.

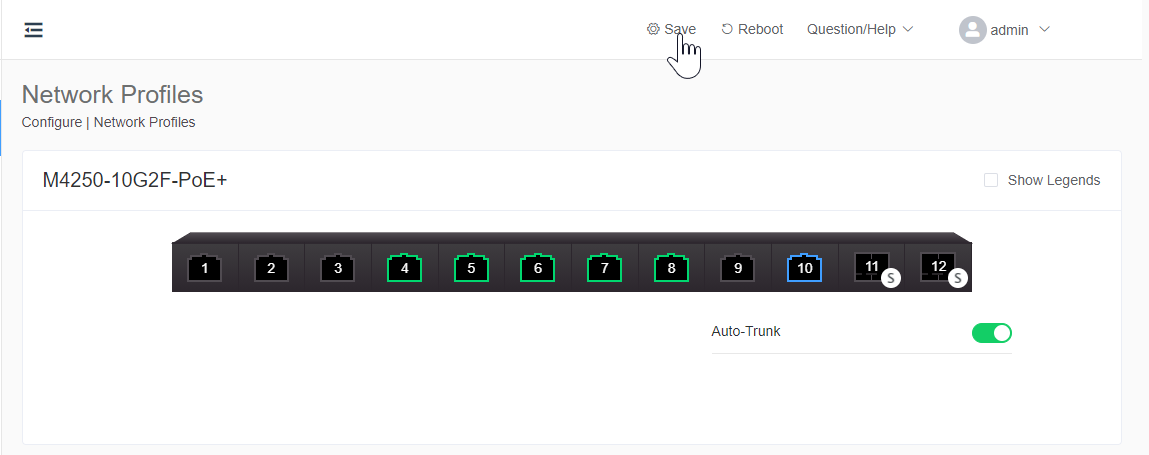
- At the top of the page, click Save to save the changes to the switch across reboots.

You may now connect a device to any switchport. For more complex configurations, including separate VLANs, consult the User's Guide.
Verifying Your Work
- Connect all of your Shure devices to the network switch, and if necessary, assign them a Static IP address.
- Open Dante Controller and ensure all devices appear under the Device Info tab.
- Verify that only one device is the Leader Clock on the Clock Status tab. All other devices should say Follower. If you are using AES67, we generally recommend that the same device serve as both the Dante and AES67 Leader Clock.
- Open Shure Update Utility, and configure it to use your Ethernet adaptor. Verify that all devices appear in the list, and are on the latest firmware.
- If devices do not appear, please see Shure Update Utility: Devices Don't Display.
- Route your audio as desired, and ensure it is working correctly.
Text-Based Configuration
This information is provided for users who prefer to configure the switch via the command-line interface (CLI). It's not necessary for most users to do this. The above profile settings apply the following settings to the switch:
set igmp querier query-interval 30
classofservice ip-dscp-mapping 8 2
classofservice ip-dscp-mapping 46 5
classofservice ip-dscp-mapping 48 5
classofservice ip-dscp-mapping 56 6
cos-queue strict 5 6
ptp clock e2e-transparent
! Repeat the following for all interfaces...
interface 0/1
ptp clock e2e-transparent


